Welding
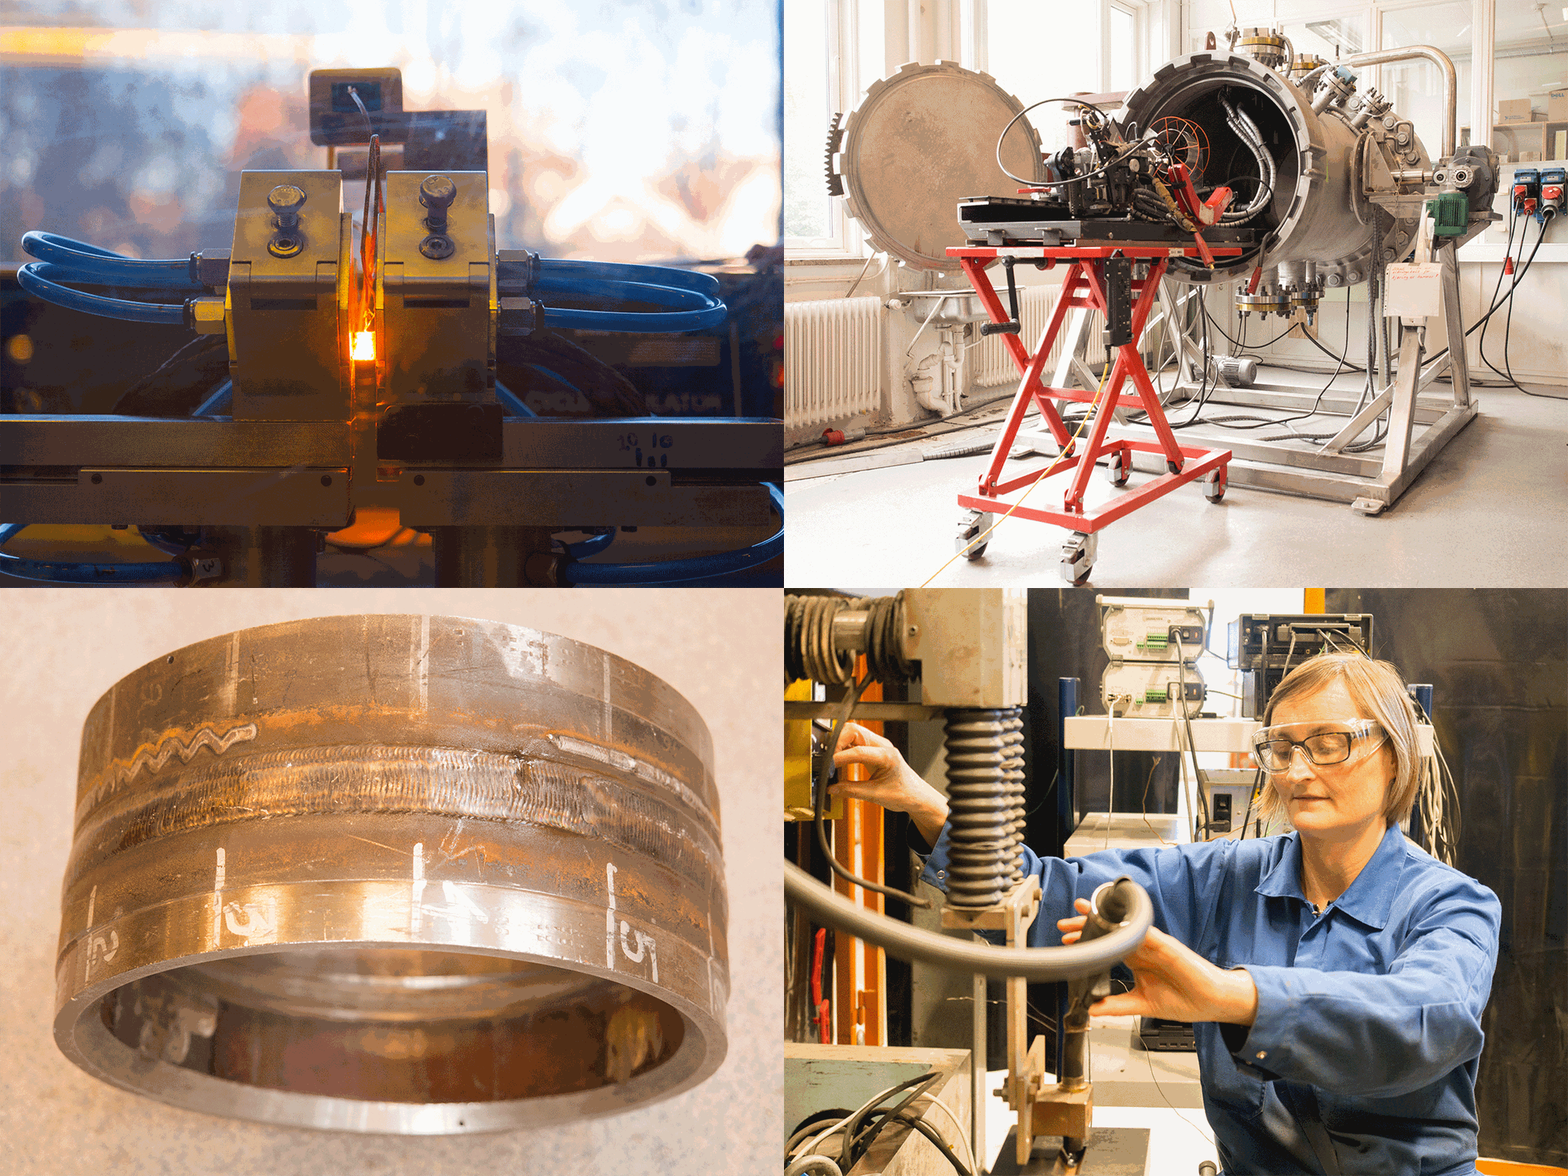
Hyperbaric welding represents today the dominating activity. Two different pressure chambers are available:
- Vessel with TIG welding at pressure corresponding to water depth of 900msw, with 1G (PA), 5G (PF) and 6G (JL 045 or HL 045) welding position options. The main activities are development and qualification of hyperbaric welding procedures for tie-ins and repair of pipes in the North Sea for water depth down to 180msw. In offshore operations, divers are present for positioning of equipment for machining, welding and NDT, but the welding is controlled from the surface vessel.
- Vessel using CMT (cold metal transfer) for welding in pressure corresponding to water depth up to 340msw. Possible welding positions are 1G (PA), 3G (PG), 3F (PF) and 4G (PE). This research is part of the development of future diverless, fully remote controlled welding of pipelines.
Weldability testing
Weldability testing is carried out to study the susceptibility to cold cracking in the heat affected zone or the weld metal. This testing may give an operational window (heat input, preheating/interpass temperature), inside which the material is free from cracking. The methods most frequently applied is Tekken or IRC (instrumented restraint cracking) testing, eventually others. It is common to include analysis of hydrogen pick-up since this represents an important parameter (following the ISO 3690 standard). Mechanised or robotised welding is used with e.g. GTAW, GMAW, FCAW/MCAW or PPAW, or other relevant processes.
These methods can also be used to provide samples for testing (mechanical properties, toughness, fatigue, etc.).
Weld thermal simulation
Weld thermal simulation if often carried out for C-Mn and low alloyed steel to clarify if the steel may possess potential local brittle zones in welding. This allows also for a closer study on how the heat input/welding parameters influences the relationship between the heat cycle and microstructure evolution on one hand, and between the microstructure and the mechanical properties on the other hand. Depending on the test method, two different equipment units are available. For toughness testing (Charpy V or fracture mechanical specimens) with rectangular samples dimensions of 11x11 mm2 cross section and 100 mm length, a resistance heating system is used with pre-programmed thermal cycle. Here, the heating and cooling rate, as well as peak temperature, is varied to simulate the effect of heat input or different positions in the HAZ (different distance from the fusion line) on toughness. With the use of dilatometer, which records the expansion and contraction, it is possible to determine the phase transformation temperatures.
For testing of mechanical properties as yield strength, ultimate tensile strength and ductility, bars of diameter from 5 to 12 mm and length up to 150 mm are used. These are subject of induction heating. The peak temperature and cooling rate may be varied.
A special variant of induction heating weld simulation is used to determine transient thermal stresses and the final residual stress level (Satoh-testing). This allows study of the effects of solid state phase transformations on residual stresses. Such testing has been conducted for C-Mn and low alloyed steel (including high strength steel), high alloyed duplex and martensitic stainless steel, as well as aluminium alloys.

